Skin problems can be annoying for all of us from time to time. Acne is one of the most common skin problems experienced by people of all ages. When dirt and oil residues accumulated on the skin are not cleaned regularly, it can cause acne and pimple formation. Cleaning the skin in the morning and evening is unfortunately not enough to completely clean the pores. Clay masks are one of the most effective ways to deeply clean the pores and remove dirt and oil . Magnesium, potassium, iron found in clay, which is a natural materialMinerals such as help beautify the skin. One of the things that should be done to prevent acne formation is to maintain the oil balance of the skin. Clay masks balance the sebum in the skin and prevent excessive oiliness. Whether you have dry or oily skin, you can prevent acne formation and get rid of existing acne with a clay mask suitable for your skin type! You can buy the clay mask ready-made, or you can easily make it yourself at home. Those who want to make their own clay mask at home, come here! Here is a clay mask recipe that will cleanse your skin of dead skin and prevent acne formation .
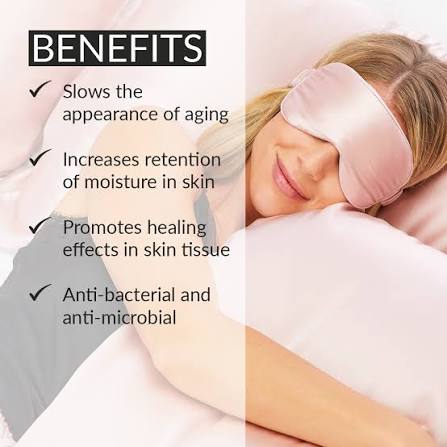
What are the benefits of making a clay mask?
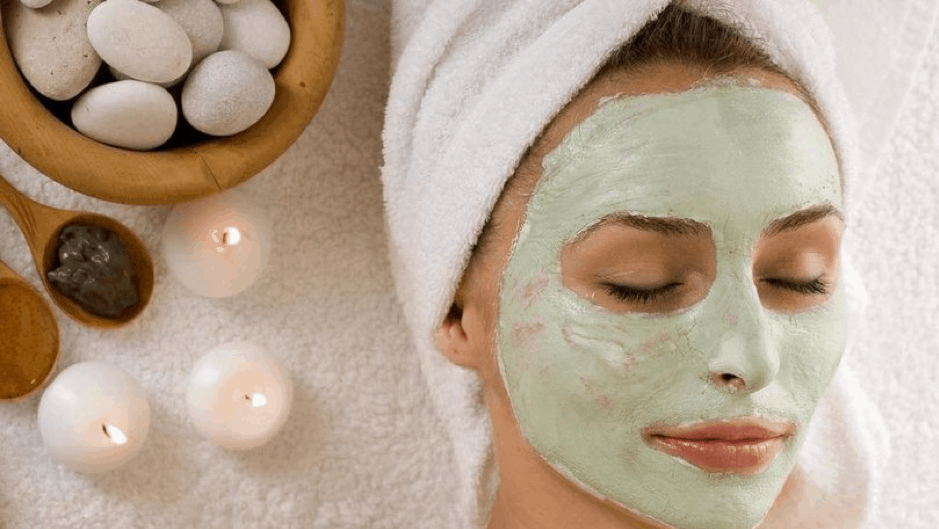
One of the benefits of making a clay mask at home is that it will clean your skin of dirt and make-up residues that you are exposed to throughout the day. Skin that has not been cleaned adequately looks pale and lifeless. Applying a clay mask to your skin at regular intervals helps to completely clean your pores and prevent acne breakouts. Another reason for my acne formation is that the skin produces excess oil. Clay masks balance the oil in the skin and prevent oil accumulation in the pores. With regular use, you will see that you get rid of your acne as well as the color of acne spots. Clay mask, which renews cells and accelerates blood circulation, will not only prevent acne formation but also help you achieve a smooth appearance.
What are the types of clay masks?
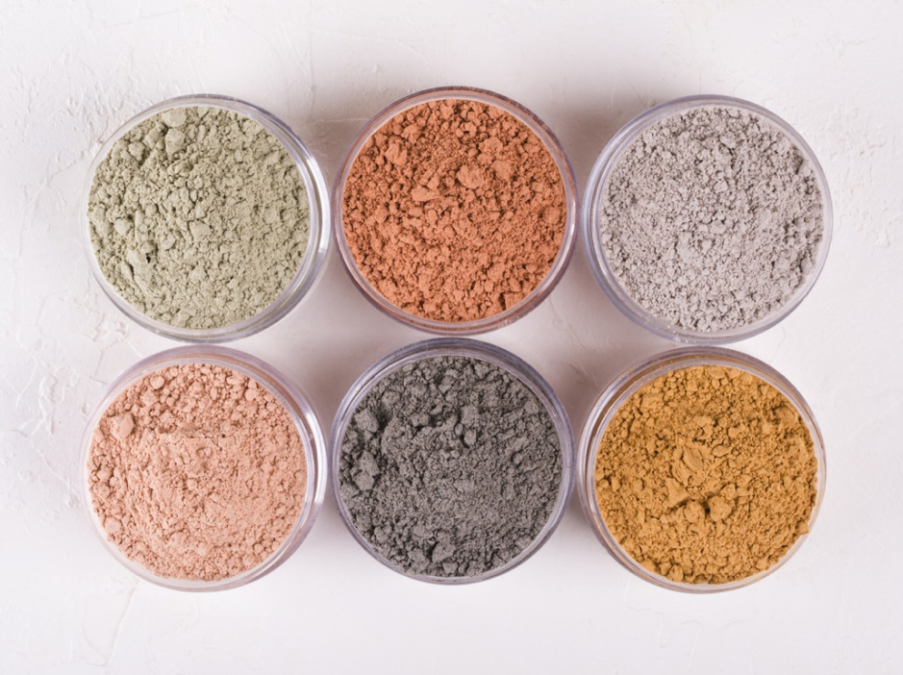
You have decided to make a clay mask at home. Do you know which clay to use? The use of clays is different according to the skin problem and skin types. Generally, the green clay that everyone knows is suitable for oily and sensitive skin. You can apply green clay, which prevents acne and pimple formation, once a week. We can say that white clay , which is one of the most common types of clay, is suitable for all skin types. White clay, like green clay, prevents acne and acne formation. If your skin is not very oily, you can choose white clay for your acne problem. pink clayIt is a type of clay that can be used by extremely sensitive skin. If acne causes a reddened appearance on your skin, you can use a pink clay mask to relieve redness. Red clays are suitable for those with dry skin. It purifies the dead skin on the skin and makes the rough appearance disappear. Blue clays are particularly successful in removing color inequalities on the skin. Blue clay masks will regulate the color inequality in your skin in regular use. Yellow clay, which is rich in minerals, is suitable for the use of allergic skin. It provides the skin with the oxygen it needs and creates a refreshing effect.
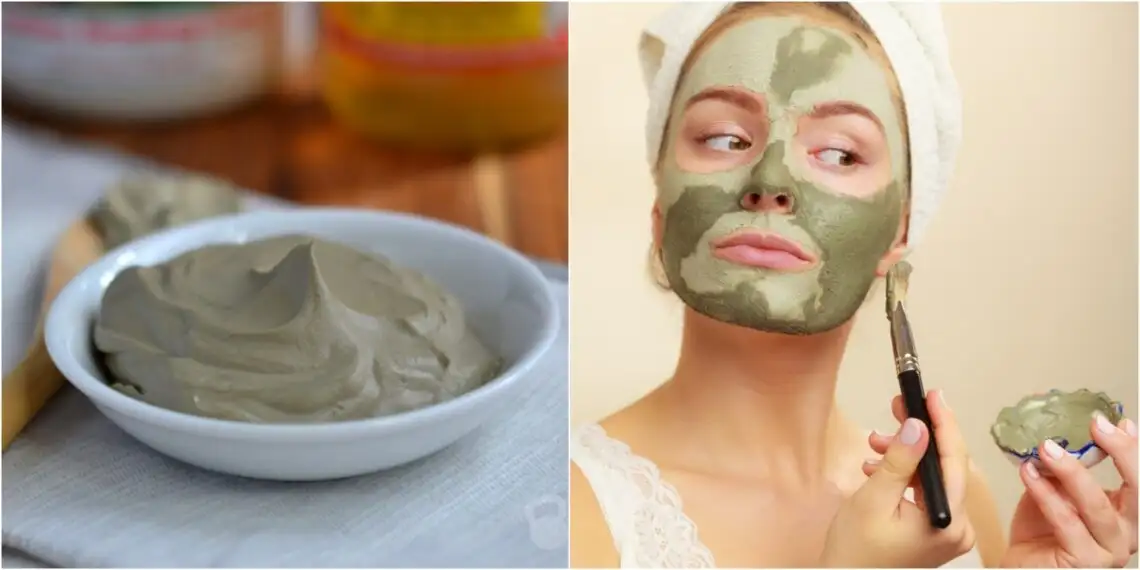
How to make a clay mask at home?
There are some points to consider when making a clay mask at home . You should not use metal products while preparing a clay mask. In addition, the water you will put in the clay must be drinking water. Add the water gradually as the clay thickens. Cleanse your skin before applying the clay mask. Even if possible, do the mask after you get out of the shower. The mask will provide a deep cleaning as the pores will open during the shower. You will get a better result by removing all the dirt and residues in the pores.
We learned which clay to use before making masks. Now we know what to watch out for. Then we can start making our mask!
Ingredients:
• 3 teaspoons of clay
• 50 gr mineral water
• 1 slice of lemon juice
• 30 gr rose water
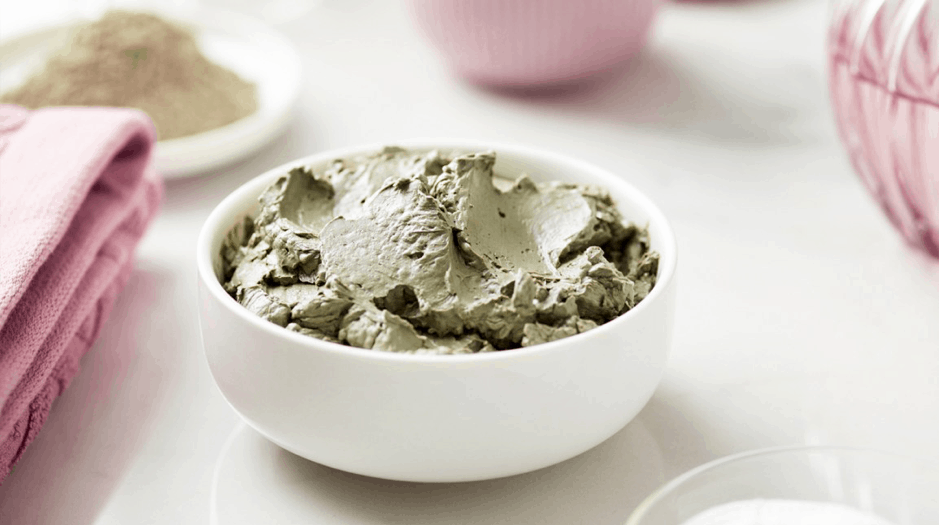
1- Mix the clay and mineral water in a clean bowl. While doing this, be sure to use a wooden spoon. Not using a metal spoon is one of the points to be considered while making a clay mask. Finally, add rose and lemon juice to the mixture. If the consistency is solid for you, you can dilute it a little with distilled water. Use drinking water at this stage. If your skin is very sensitive, you can add pure water instead of lemon juice.
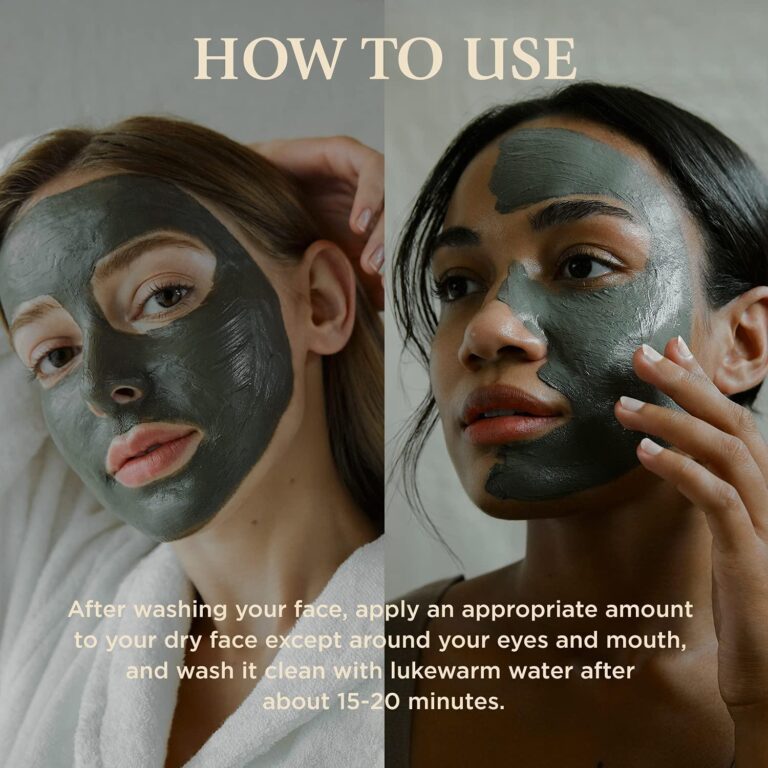
2- Apply the mask you have prepared on your face so that it does not come under your eyes. Leave it on for 20 minutes if you have sensitive skin, 30 minutes if you have oily skin, until it dries.
3-Remove the drying mask from your skin with circular movements. After washing your skin with lukewarm water, continue to wash your skin with cold water. Cold water will ensure that the pores opened after the mask are closed and will prevent dirt and oiliness.
After cleansing your face, make sure to moisturize it with a moisturizer suitable for your skin type. By applying this mask once a week, you can get rid of acne and pimples and purify your skin from dead skin.
Can a clay mask also be used for the body?
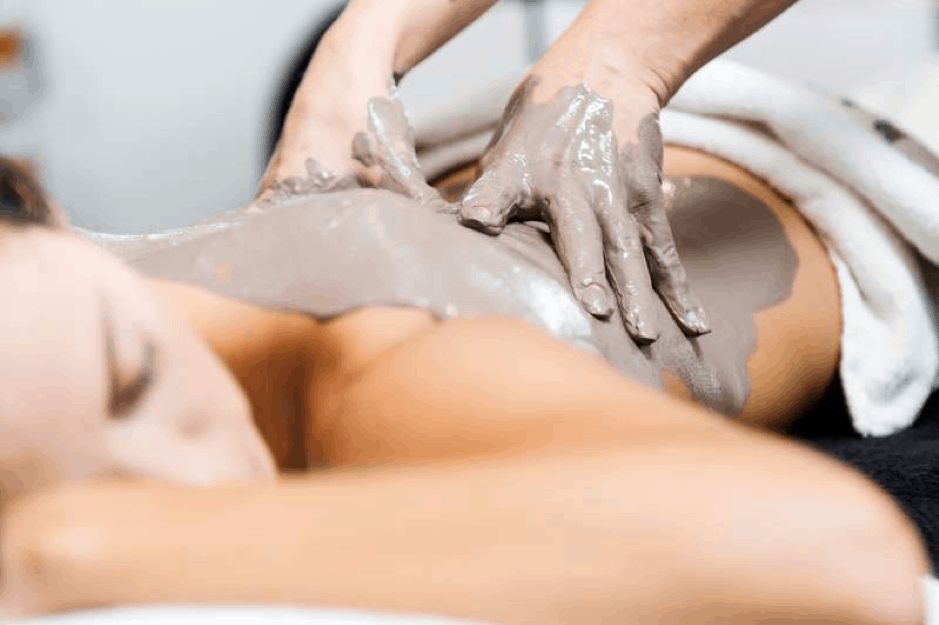
You can also use clay masks to eliminate acne on your body. Especially during adolescence, acne problems are experienced on the shoulders and back. Apply the mask you have prepared to the area where you have acne problem and leave it for 30 minutes. With regular use, you will see that the acne and acne scars on your body disappear. A smooth appearance will be inevitable, as clay masks will also purify your skin from dead skin!