Categories
HEALTH
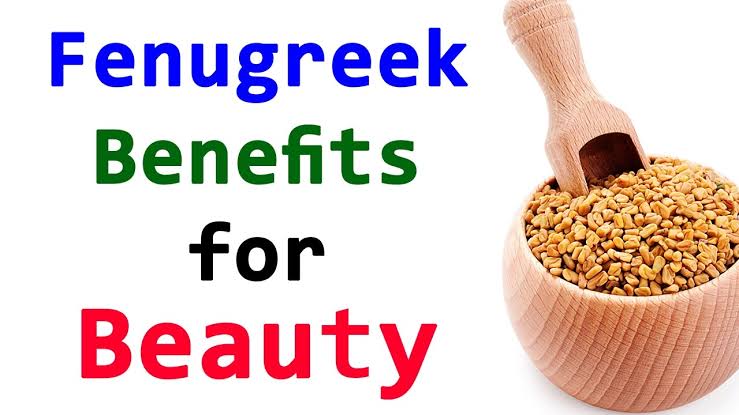
Benefits of Fenugreek Seeds For Your Hair, Skin, And Health
Top Benefits of Fenugreek Seeds – Hair, Skin, And Health 1. Exfoliates Skin and Gets Rid of Facial Hair Soak a teaspoon of fenugreek…
Read More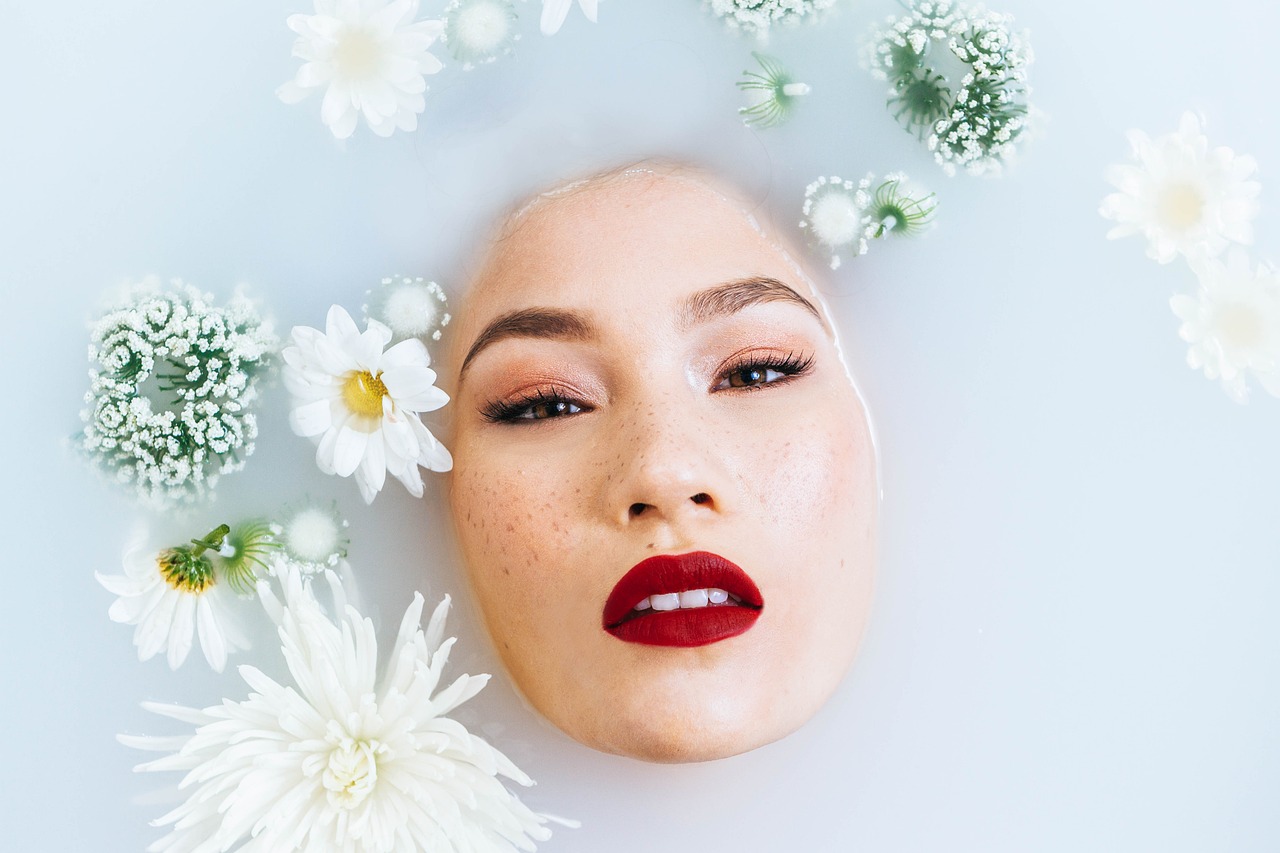
Top Benefits of Fenugreek Seeds – Hair, Skin, And Health 1. Exfoliates Skin and Gets Rid of Facial Hair Soak a teaspoon of fenugreek…
Read More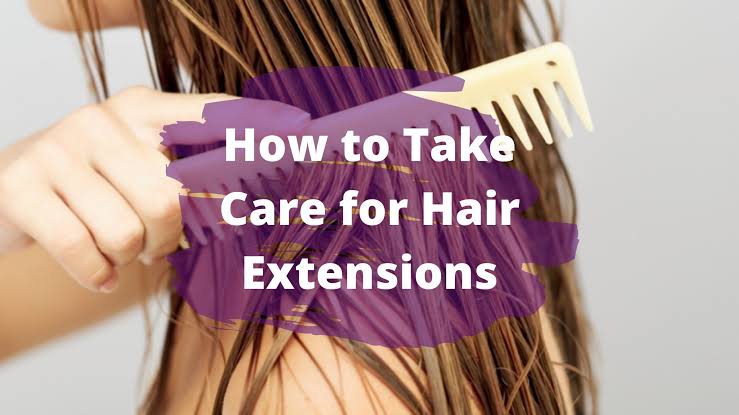
A few years back, if you had thin hair and longed for thick, luscious hair, there wasn’t much you could do about it. But,…
Read More
Do you feel like your skin is ageing even when you don’t have crow’s feet or frown lines? Chances are you may be having…
Read More
We girls, I tell you. Always on the lookout for something fast and easy, grab-on-the-go you know. And this applies to shopping, eating, and…
Read More
Our skin has its own way of talking to us. It expresses itself and its discomforts mostly through allergies, break-outs, boils, and reactions. One…
Read More
Having a hectic day? Looking for some reprise? Well, we know what might just pump you up! A cup of black coffee could just…
Read More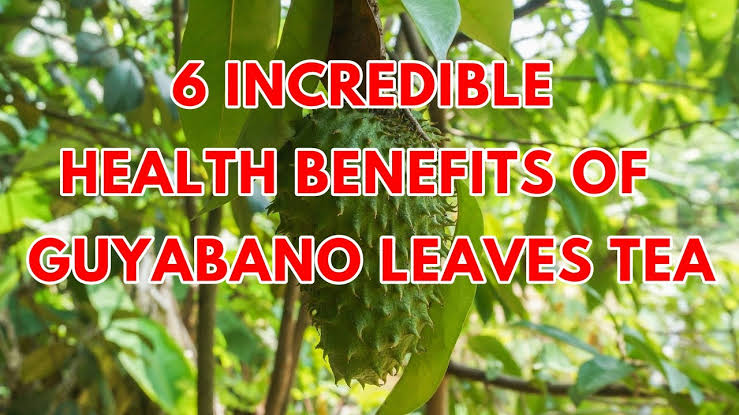
Do you know that Guyabano is also known by other names such as Brazilian paw paw, soursop, and graviola? The wonder herb is native…
Read More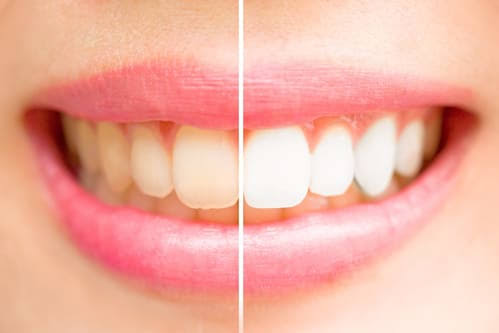
No matter how great your skin looks, or how much makeup you have on, a smile is the real display of beauty. And…
Read More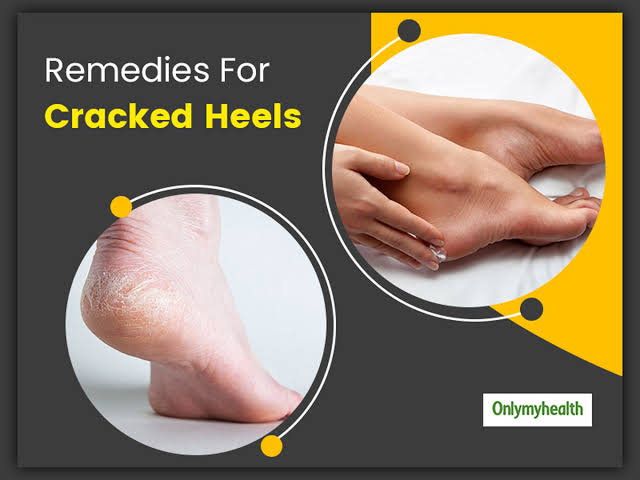
Many women, especially the problem of cracked heels, often crack the heels as a result of many factors and thus cause some embarrassment and…
Read More
Recently, many hair styling and care products have spread, and a new way has emerged in which cholesterol is used to obtain strong and…
Read More