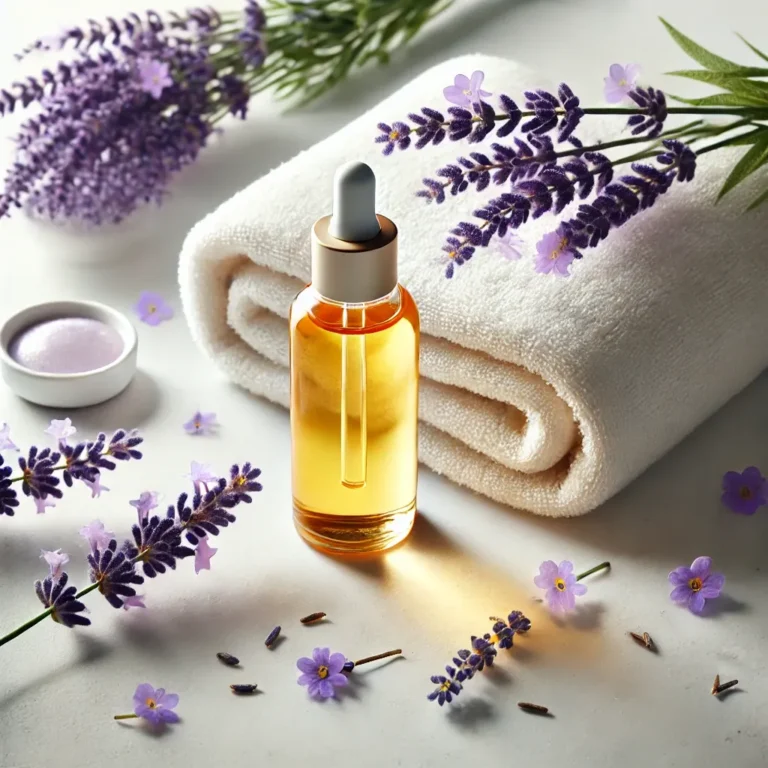
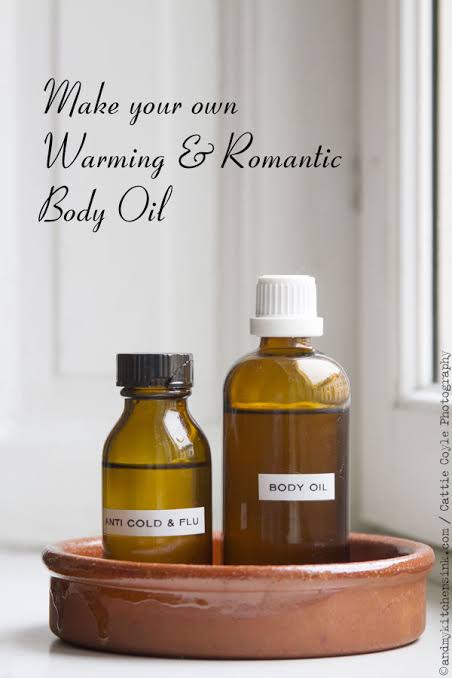
Delicately scented body oils are perfect for moisturizing your skin and giving it a beautiful glow, and they’re great for a massage too. Before you rush to the store and spend your money on a commercial product, try making a scented body oil at home. All you need is a carrier oil, a few essential oils, and a dark bottle. The oil you mix is ideal for self-care as well as a great gift.
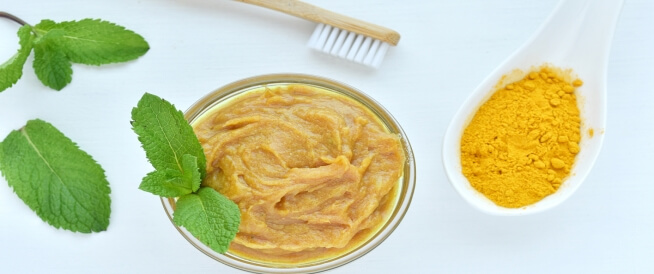
Choose a carrier oil. Essential oils should be diluted with a carrier oil before applying to your skin. Some good fragrance-free options include avocado, sweet almond, jojoba, grape seed, and apricot kernel oils, but they should be refrigerated. Instead, choose olive, coconut, argan or sesame oil as your carrier, all of which are safe for your skin.
Choose cold-pressed oils or organic carrier oils whenever possible.
Choose a bright essential oil for the top note. You can make a simple body oil with an essential oil and a carrier oil. However, many people prefer to make their own custom blend. First of all, select the “top scent” of the perfumed body oil. This is a bright or sharp scent that will catch your eye when you first smell the mixture, but it won’t last long.
Examples include mint, basil, eucalyptus, orange blossom, and verbena. oils.
It is best to avoid the use of citrus oils, as many of them can cause severe burns when applied to the skin and exposed to sunlight.
Choose a complex scent for the middle notes. Also called the heart note, this oil usually has a complex, full-bodied scent that lasts 1 to 2 hours on a perfume test strip. You can choose the middle note as the main theme of the scent. Instead, choose one that shares elements of top notes and base notes so that all three scents are in harmony.
Good choices include chamomile, ginger, rose, lavender, geranium, and other herbal and floral scents.
Choose a deeper base tone. For a classic 3-layer blend, the last essential oil you’ll need is the base note. This should last at least a few hours, as its main purpose is to give the mixture staying power. Many oils used as base ingredients are also stabilizers, which slows down the rate at which other scents evaporate.
Try strong and deep scents like vanilla, cocoa, sandalwood, patchouli, or frankincense.
Modify your group as needed. Once you’ve made your three choices, put a few drops of each on a cotton swab, and point the scent toward you for the test. If you’re not a fan, substitute one or more oils with a different scent.
Do a patch test to make sure there is no bad reaction. If you have never applied one or more of the essential oils of your choice to your skin before, do a patch test. This is especially important if you are taking medication or if you have allergies. Use this procedure:
Dilute the essential oils in a carrier oil to twice the concentration you plan to use.
For example, if you plan to use a 3% mixture, dilute it to 6% for the test, which is 6 drops of essential oils in 1 teaspoon (4.9 ml) of carrier oil.
Moisten the pad from the inside with the mixture and place it on your inner arm.
Remove the bandage after 48 hours. If there is redness or itching, do not use this oil
Use small, dark glass containers to store the oil. Sunlight and air break down the oils over time. Store your oils in bottles made of semi-opaque dark glass, the size of a small perfume bottle. The compact size allows you to work with the amounts you can use before it degrades while reducing headspace (the air inside the bottle) which speeds up decay.
Use bottles with a tight-fitting cap or cork.
Measure the volume of your bottle. Fill the bottle with water almost to the top, then pour it into a measuring cup. Write down the number of milliliters the bottle holds. Multiply this number by 20 to get an estimate of how many drops will fit in the bottle.
For example, if you plan to make a large batch of 50ml, your bottle holds 50ml x 20 drops/ml = 1000 drops.
For reference, 1 US fluid ounce is close to 30 ml.
Dilute essential oils to 1-5% for safety. If you are an adult planning to use the body oil on a large area of your body, dilute the essential oil to 1%. If you plan to use it as a perfume or for a small space, you can safely try 3 or 5%. For a 1% dilution, multiply the number of drops the bottle contains by 0.01.
For example, if you have a 1,000 drops bottle and plan to dilute to 1%, you will need 1,000 x 0.01 = 10 total drops of essential oil.
Expensive essential oils are often sold in diluted form to make them more affordable. If the label says it has already been diluted 5%, multiply the number of drops by 20 (since 100% 5% = 20%).
Use two parts of the base note, one part of the middle note, and two parts of the upper note. This ratio uses a total of 5 “parts” (2 + 1 + 2). If you are making a 1% essential oil blend in a 50ml bottle, you will need 10 total drops of the essential oil, or 2 drops per part (because 10 drops ÷ 5 parts = 2 drops per part). Here’s how to split that between the three scents:
2 essential parts x 2 drops/part = 4 essential note drops.
1 part of the middle note x 2 drops/part = 2 drops of the middle note.
2 parts of the top note x 2 drops/part = 4 drops of the top notes.
Sometimes math doesn’t work out well, and you can’t get a perfect ratio. Just get as close as you can.
This is not the only recipe you can use. If you want your middle note to be the pivotal element, you can go for a 1:3:1 ratio.
Mix the essential oils together in the bottle. Calculate the drops for each essential oil according to the calculations you just made. Add it all to a glass bottle and swirl it around to mix together.
Fill the rest of the bottle with carrier oil. Since all of this math was based on the size of the bottle, you don’t need to count the drops. Simply fill the bottle with carrier oil as often as you can. Close the cap tightly and shake for a minute or two to make sure the oils are evenly distributed throughout.
At this point, you can smell the oil and mix it in another drop or two of the essential oil to change its properties. Just remember that adding too much can increase the concentration to levels that irritate the skin.
Store the bottle in a cool, dark place. Close the bottle tightly and place it in a box or on a shelf out of direct sunlight. If you are using a carrier oil that needs refrigeration, keep the bottle in the refrigerator. To maximize shelf life, transfer the oil to smaller bottles while using it so there is not too much air trapped in the bottle. Keep out of reach of children.